
Last updated November 20, 2026
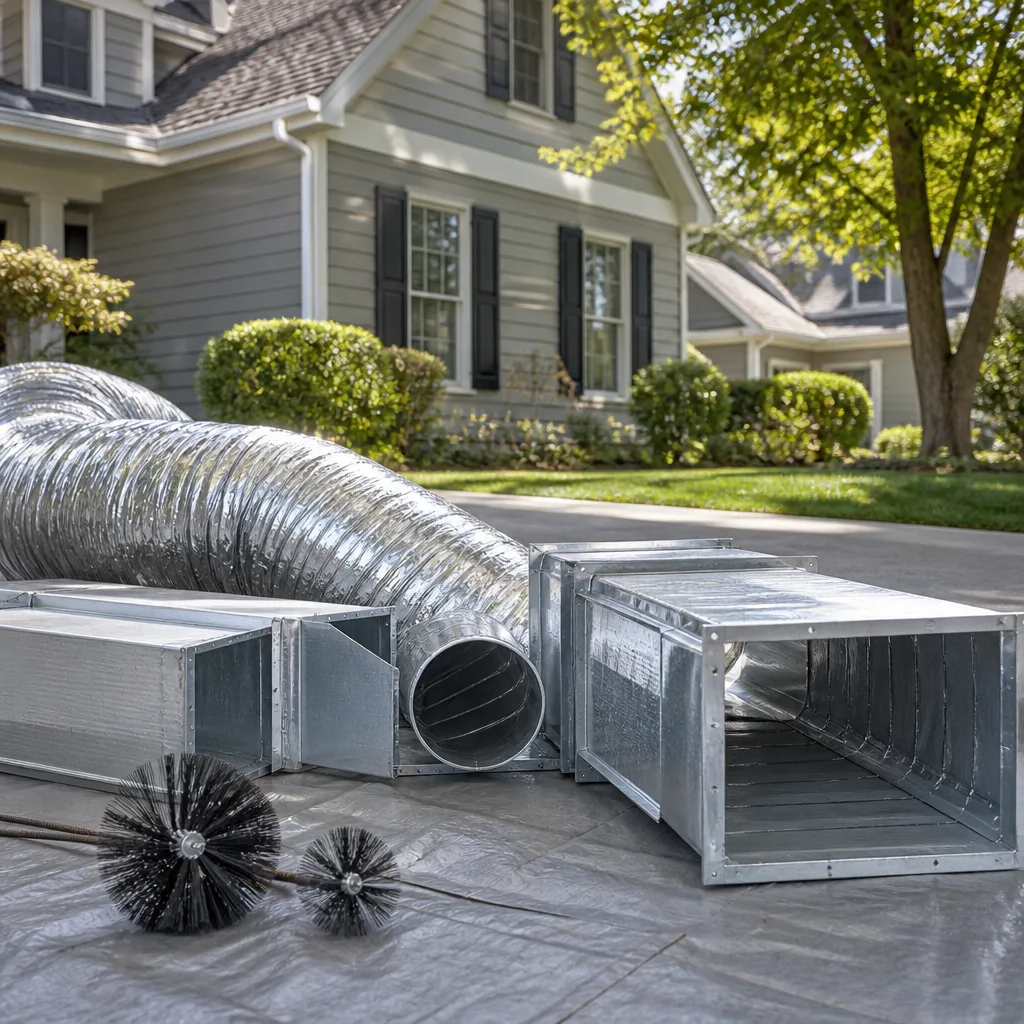 Whole-home duct cleaning
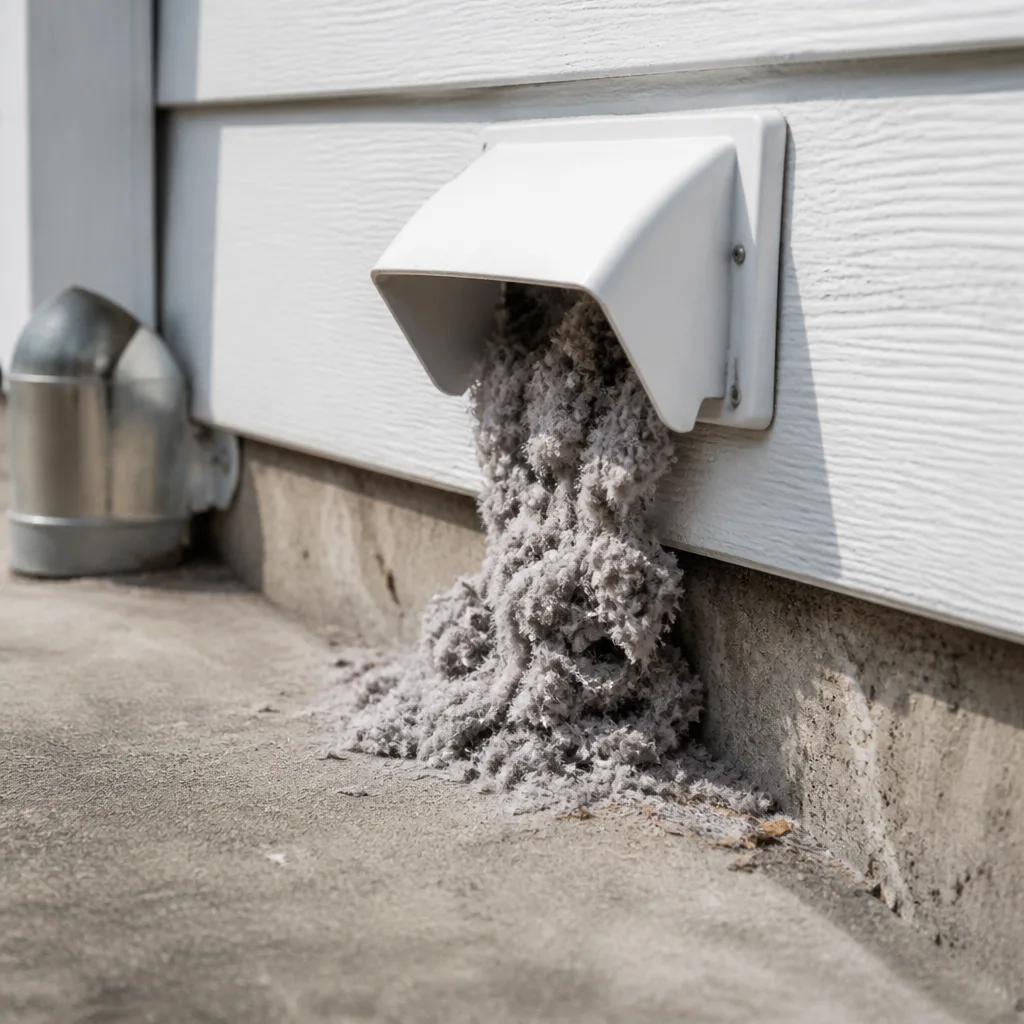 Dryer vent cleaning
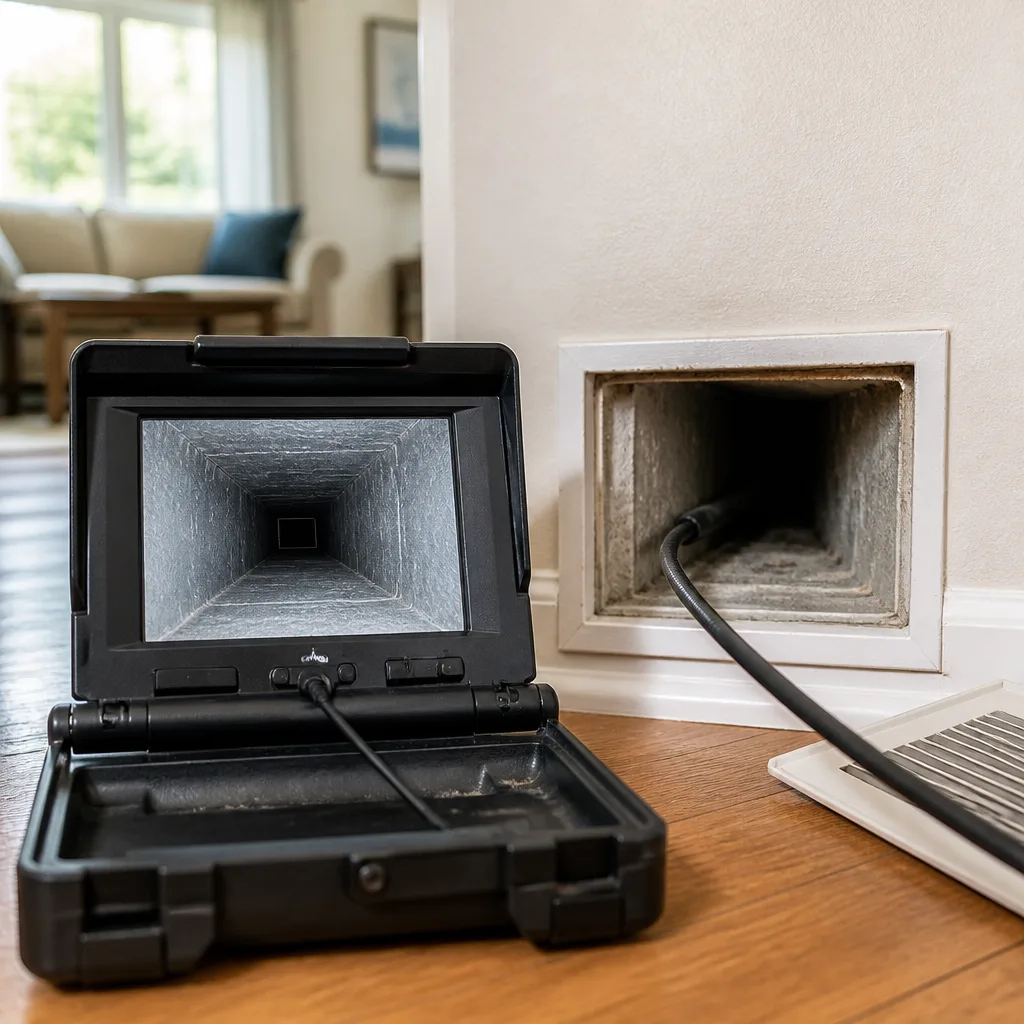 Camera inspection
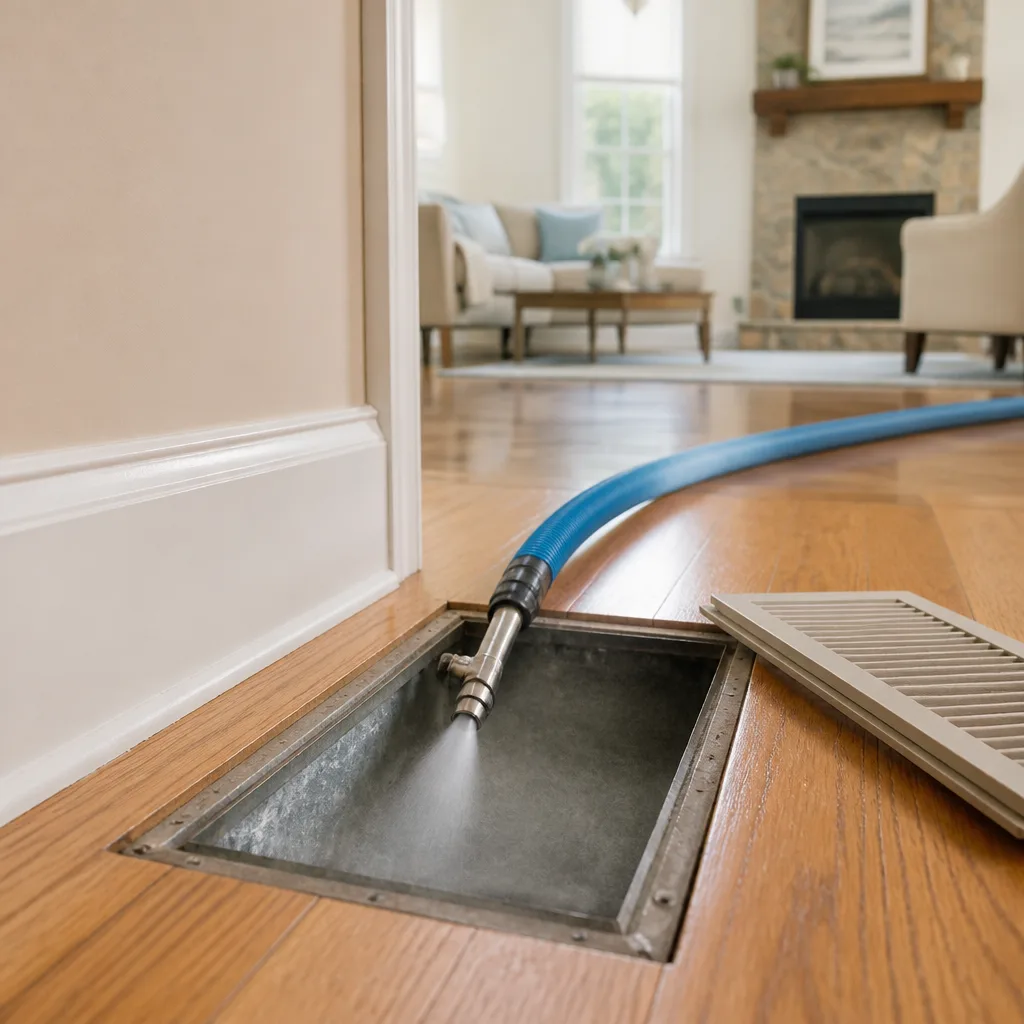 Sanitizing & deodorizing
Whole-system duct and dryer vent check with before-and-after photos - you see exactly what came out of your vents
That "$99 whole-house special" is a bait ad - the real number appears once they are in your hallway, or the "clean" is a shop-vac at the register. We photograph the inside of your ducts before and after instead.
Air Duct Cleaning Maintenance Checklist for Flushing Homeowners
Most air duct advice is written for a house on a quiet suburban lot, and it assumes your intake air is roughly the same as everyone else’s. Flushing doesn’t work that way. This neighborhood sits at the meeting point of two of the busiest freight corridors in Queens, and the air that feeds your return grilles carries a different particulate load than a home twenty minutes further out. Diesel soot from idling delivery traffic, cooking exhaust from dense multi-family blocks, and construction dust from constant renovation all settle into your ductwork on their own schedule. A filter-change reminder taped to the furnace isn’t a maintenance plan here. What follows is a 12-month inspection protocol built around how this part of Queens actually behaves, from the pollen that drifts off Kissena Park in spring to the humidity that makes uninsulated flex duct a genuine concern in July. You’ll learn what to check each month, what your return grilles are telling you, which filter rating fits urban particulate, and when a visual check is enough versus when you need professional containment equipment. We’ll also show you how to photograph your ducts over time so a technician can see exactly what changed and when.
Quick Answer
A practical air duct maintenance checklist for a Flushing home runs on a 12-month cycle: check and photograph your return grilles and supply registers monthly, replace or clean filters every 1 to 3 months depending on MERV rating and household conditions, schedule a professional duct inspection once a year, and book full cleaning every 3 to 5 years for most homes, sooner if you have pets, allergies, recent renovation, or a smoker in the building. The specific triggers that matter in Flushing are spring pollen from Kissena Park, summer humidity that promotes mold in uninsulated flex duct, and fall leaf debris pulled into ground-level returns.
Styles & brands we work with
- Whole-home duct cleaning
- Dryer vent cleaning
- Camera inspection
- Sanitizing & deodorizing
Table of Contents
- Why Flushing Ducts Follow a Different Schedule
- The 12-Month Flushing Duct Maintenance Calendar
- What You Can Check Without Tools
- Choosing the Right MERV Filter for Queens Urban Air
- How to Document Duct Condition With Your Phone
- DIY Check vs. When You Need Professional Containment
- Don’t Forget the HVAC and Dryer Vent
- Common Mistakes to Avoid
- When to Call a Professional
Why Flushing Ducts Follow a Different Schedule
A generic national duct-cleaning schedule assumes a fairly clean outdoor air supply. Flushing households are working with something else. The Van Wyck and the Grand Central Parkway move freight and commuter traffic past dense residential blocks all day, and that traffic throws off fine diesel particulate that gets pulled in through return air and outside-air intakes. Layer on top of that the exhaust from thousands of kitchens in close proximity, the dust from near-constant renovation in older multi-family buildings, and the seasonal biology of the area, and you get a contaminant profile that builds up faster and more unevenly than a suburban template would predict.
There’s a second factor specific to this neighborhood: the housing stock. Flushing has a large number of older homes and apartment buildings where ductwork runs through unconditioned or semi-conditioned spaces, and many of those runs use flex duct that’s either uninsulated or under-insulated. In a humid Queens summer, that’s a real problem. Cool air moving through a cold flex duct in a warm, moist attic or crawlspace creates condensation on the duct’s outer surface, and persistent moisture on duct surfaces is exactly the condition that encourages mold growth inside the system. You don’t see it from the living room. You smell it, eventually, or you notice allergy symptoms that don’t track with the outdoor pollen count.
We raise these local factors not to alarm anyone but because the schedule needs to match the environment. A homeowner in a dry climate can stretch filter changes and duct inspections further than a Flushing homeowner can. Here, the calendar has to account for traffic particulate, dense cooking exhaust, seasonal pollen from Kissena Park, and the humidity window from roughly June through September. Once you build the schedule around those realities, maintenance stops feeling arbitrary.
If you’re just starting out and want the foundational service explained, our air duct cleaning page walks through the full process. This guide assumes you’re past the basics and want a repeatable routine.
The 12-Month Flushing Duct Maintenance Calendar
Here’s the month-by-month checklist, organized around when Flushing conditions actually change. Treat it as a framework, not a rigid rule – if your home has pets, a smoker, or a recent renovation, compress the intervals.
- January. Peak heating season means the system runs constantly. Check your filter, photograph the return grille, and note any new dust patterns. Cold, dry air can mask duct problems that show up as odors later.
- February. Replace filter if it’s at your change interval. Look at supply registers for uneven airflow – one room blowing weakly while others are strong is an early signal of a partial blockage or a damper issue.
- March. Early spring. Leaves and debris from last fall’s cleanup can still be sitting near ground-level returns; check exterior intake screens if you have them. This is also a good month to review last year’s photos.
- April. Pollen season begins in earnest around Kissena Park and the surrounding green space. If anyone in the household has seasonal allergies, replace the filter now regardless of the calendar. Watch for a sudden uptick in dust on return grilles.
- May. Peak pollen. Keep filters fresh. If you’ve noticed a persistent musty smell at system startup, log it with a date – this is the month humidity starts climbing and a marginal duct problem becomes a visible one.
- June. Humidity window opens. Visually inspect any accessible flex duct in attics or crawlspaces for condensation or discoloration. Don’t open sealed ductwork yourself; just note what’s visible on the outside of the jacket.
- July. Highest humidity. This is the month most likely to reveal mold issues in under-insulated flex duct. If you smell mustiness or see moisture staining, that’s a professional call, not a wait-and-see.
- August. Continue humidity watch. Replace filter. If you run a dehumidifier, don’t route its exhaust into a return – that adds moisture to the very system you’re trying to keep dry.
- September. Late-summer pollen and the start of leaf fall. Ground-level returns can pull in leaf debris and grit. Check exterior grilles and clean anything visible.
- October. Leaf debris peak. Clear leaves from around exterior intakes and any ground-level return openings. This is also when you’ll start running heat again – watch for that first-startup odor.
- November. Transition month. Replace filter, photograph all grilles, and compare against April and July photos. The comparison tells you whether this is a routine year or a year to book cleaning.
- December. Year-end review. Tally your photos, your filter changes, and any symptoms (odor, allergy flares, uneven airflow). If the pattern suggests buildup, schedule professional cleaning before the next heating season.
If you run a dryer in the home, the vent needs its own attention on a similar cycle – we’ll cover that in a dedicated section below.
What You Can Check Without Tools
You don’t need equipment to catch most duct problems early. Four visible signals tell you almost everything you need to know about the condition of your system, and all four are things you can observe in a couple of minutes with a flashlight and your nose.
- Return grille dust pattern. Look at how dust accumulates on the grille fins. A thin, even film is normal. A thick, dark, greasy buildup – especially one that’s heavy in the center and lighter at the edges – suggests the return is pulling in more particulate than the filter is capturing, or the filter is overdue.
- Supply register airflow asymmetry. Hold your hand in front of each supply register running the system normally. Airflow should feel roughly similar from room to room. A register that’s noticeably weaker can mean a partially collapsed flex duct, a closed damper, or a debris blockage further upstream.
- Odor changes at startup. The first 30 seconds after the system kicks on are the diagnostic moment. Musty means moisture and possible mold. Sharp or chemical means something is off-gassing – could be a failing component or contamination. Dusty or “stale basement” is common but worth noting. Write the description and the date down each time.
- Visible dust plumes from registers. If you can see dust puffing out of a register on startup, the system is depositing more particulate into the room than it should, and the ducts are likely overdue.
In our experience, the odor check is the one homeowners skip. It’s also often the earliest and most reliable early-warning signal, particularly in this climate where moisture is the main destructive force. If you note a smell that wasn’t there six months ago, that’s data. Keep it.
Choosing the Right MERV Filter for Queens Urban Air
Filter guidance for suburban homes often recommends a light MERV rating and infrequent changes because outdoor air is comparatively clean. That advice overshoots in the wrong direction for Flushing. Urban particulate here – diesel soot, cooking exhaust, construction dust – is finer and more abundant, which argues for a somewhat higher MERV rating and a shorter replacement interval than a national default would suggest.
The trade-off is real. Higher MERV filters capture finer particles but restrict airflow more, and if your system wasn’t designed for high-MERV filtration, you’ll strain the blower and reduce efficiency. Here’s a practical approach:
- MERV 8 to MERV 11 is the sweet spot for most Flushing homes. It catches a meaningful share of fine urban particulate without overtaxing standard residential equipment. Start here unless you have a specific reason to go higher.
- MERV 13 is worth considering for allergy sufferers, homes near major roadways, and households with young children. Check that your system can handle the added airflow resistance before making the switch.
- Below MERV 8 filters catch little of the fine diesel and cooking particulate that dominates here. They’re the wrong choice for this environment.
- Replacement intervals. Every 3 months is the floor for most Flushing homes. Every 1 to 2 months during pollen season (April through May, September) and if you have pets or a smoker. Hold the filter up to a light: if you can’t see through it, it’s done.
Post-cleaning, the filtration side matters as much as the cleaning itself. We carry and install Honeywell and Aprilaire filtration products, which lets us match the filter housing and media to your specific system rather than leaving you to guess at a generic big-box filter. That matters more in a high-particulate environment than in a clean one – the right filter and the right cleaning schedule work as a system.
How to Document Duct Condition With Your Phone
The single most useful thing you can do for your ducts is take consistent photos. Duct problems develop slowly, and memory is unreliable – a grille that looks “normal” today will look exactly the same in your mind next year even if it’s gotten meaningfully dirtier. Photos turn vague impressions into a timeline, and a timeline is what lets a technician diagnose rather than guess.
- Pick five fixed locations. Choose the returns and supplies in the rooms you use most. Photograph the same spot every time.
- Photograph with the system off. Moving air changes how dust settles on the fins and gives inconsistent images.
- Get two angles per grille. One straight-on, one at a low angle so the relief of the dust film is visible. Both with the same lighting.
- Photograph the filter. Lay it flat next to a ruler or a coin for scale. Note the date on the photo (most phones do this automatically).
- Photograph anything accessible. Exterior intake screens, exposed duct in attics or basements, the area around the air handler. Don’t open sealed ductwork for a photo.
- Log the smell. A quick voice memo or a note on your phone describing the startup odor, dated, is worth as much as the photos.
- Review quarterly. Compare this quarter’s photos against the same location last quarter. Differences show up clearly when the framing is identical.
When you do book a professional, the photo timeline lets the technician see your system’s trajectory, not just its current state. That often changes the recommendation – a home whose photos show stable buildup needs a different response than one where grilles have visibly darkened over six months.
DIY Check vs. When You Need Professional Containment
There’s a clear line between what a homeowner should handle and what requires professional equipment, and knowing where that line sits saves you from both unnecessary spending and real risk. Cleaning the return grille covers and swapping filters are homeowner jobs. Anything that involves opening the duct system, restoring airflow inside it, or addressing contamination is not.
The reason is particulate release. When duct contamination is disturbed – whether by a homeowner with a shop vac or a technician with the wrong equipment – fine particulate becomes airborne and circulates through the home. This is why professional service uses containment. Abatement Technologies air scrubbers and negative-pressure containment equipment are standard in restoration and remediation work because they capture dislodged particles rather than letting them escape into the living space. We deploy that same remediation-level equipment on routine residential duct cleaning, which means the air in your home stays cleaner during the service, not just after.
The cleaning itself uses different machinery than a shop vac. Rotobrush rotary brush systems are built to agitate and remove contamination from duct walls, and Nikro-powered rigs are designed for both residential and commercial duct work. These are the same equipment categories professional HVAC contractors use, which is the practical distinction between a real cleaning and a surface pass.
Call a professional if any of the following is true:
- You smell mustiness at startup that persists across multiple weeks, or you see moisture staining on accessible duct jackets.
- Anyone in the home has developed allergy or respiratory symptoms that don’t track with outdoor seasonal patterns.
- You’ve recently completed a renovation, and drywall dust or construction debris may have entered the system.
- You’ve moved into a home and don’t know its duct history.
- Your visual checks show airflow asymmetry that doesn’t resolve with a new filter.
- You have pets, or a smoker in the household.
If the situation also involves visible debris under the grille or a dryer vent you haven’t checked, our Air Duct Cleaning Flushing page covers the full service scope, and we can usually walk through it on the phone before booking.
Don’t Forget the HVAC and Dryer Vent
Air ducts get the attention, but they’re only one part of the air system in a Flushing home. Two other components run on their own maintenance schedules, and skipping them can undo the work you’ve done on your ducts.
HVAC cleaning
The air handler, evaporator coil, and blower assembly are where the air in your ducts actually passes through. A clean duct system connected to a fouled coil still delivers contaminated air, because the coil is part of the same air path. Our HVAC cleaning service addresses the equipment side of the system, and it pairs naturally with duct cleaning – doing both under one service call means the entire air path gets cleaned in sequence rather than in pieces. In our experience, the coil is the component most often overlooked, and one of the most consequential to leave dirty in a humid climate.
Dryer vent cleaning
The dryer vent is a separate duct, but it operates on the same principle: lint and debris accumulate over time, and periodic cleaning is what keeps it functioning. In a Flushing home, dryer vents run through walls and sometimes up through rooflines, and long runs with multiple elbows collect more lint. Annual dryer vent cleaning is a reasonable cadence for most households, and more frequent if you do multiple loads a week. It’s also a component worth including in your annual air-system review, because it’s a duct you’re likely never looking at. One call covers the ducts, the HVAC, and the dryer vent, which keeps your whole system on one calendar instead of three.
Protective finishing products round out the service. Guardsman protective products are used to finish and protect duct surfaces after cleaning, which extends the interval before the next service. It’s a small step that’s easy to skip and worth not skipping in a high-particulate environment.
Common Mistakes to Avoid
- Following a national filter-change interval. The every-3-months default is written for clean outdoor air. In Flushing, urban particulate means you should change more often during pollen season and after any nearby construction. Fifty percent of duct complaints we hear trace back to an overdue filter.
- Relying on a low-price coupon from a national chain. Bait-and-switch pricing is the industry’s worst-kept secret: an advertised teaser price that grows substantially once the technician is onsite. Ask for one flat price per system in writing before work begins, and confirm the equipment that will be used.
- Skipping the dryer vent. Many homeowners clean ducts and never touch the dryer vent because it’s out of sight. It accumulates lint at a different rate than air ducts and needs its own annual attention.
- Choosing a high-MERV filter without checking system compatibility. A MERV 13 filter on a system designed for MERV 8 can strain the blower and reduce efficiency. Match the filter to the equipment, not to the marketing.
- Vacuuming ducts with a shop vac. Consumer vacuums lack the containment and filtration to capture disturbed particulate. They can redistribute fine dust through the home rather than remove it.
- Ignoring humidity signals in summer. A musty smell in July is more significant in this climate than a dusty smell in January. It points to moisture, and moisture is what drives the more serious problems.
- Never documenting anything. Without photos and dates, you’re relying on memory to judge whether conditions are changing. The photo timeline is the cheapest diagnostic tool you have.
When to Call a Professional
If any of the following describes your situation, it’s time for a professional inspection: a persistent musty odor at system startup, visible dust plumes from supply registers, unexplained allergy or respiratory symptoms in the household, recent renovation that may have introduced dust into the system, a home you’ve just moved into with unknown duct history, pets or a smoker in the household, or visual checks that show airflow asymmetry not resolved by a filter change. A professional inspection with professional-grade equipment can determine whether cleaning is needed now or can wait a season. Air Duct Cleaning Flushing offers free estimates in Flushing – call (833) 468-5745. We answer 24/7. Fast dispatch from 7am to 7pm, Sunday through Friday. The estimate is free, and you get a written price before any work begins.
See the difference
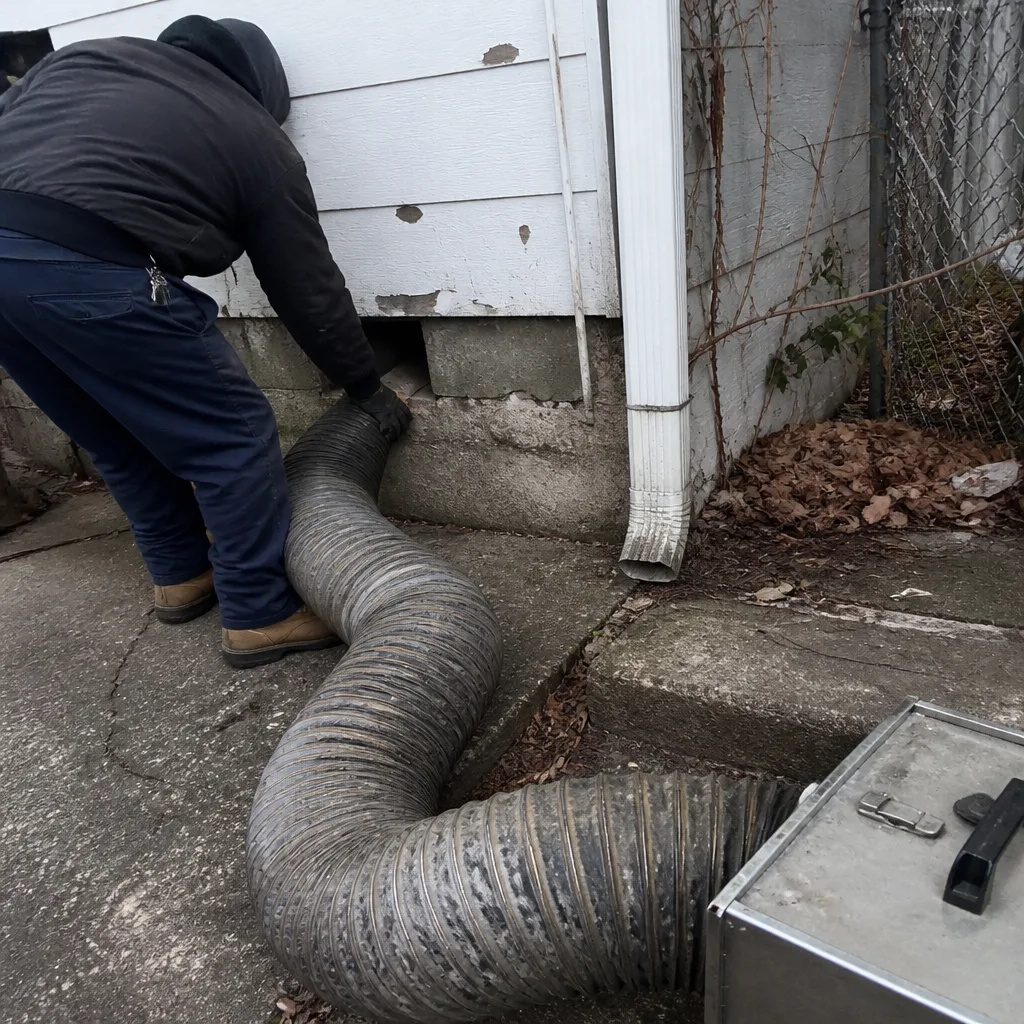 Before
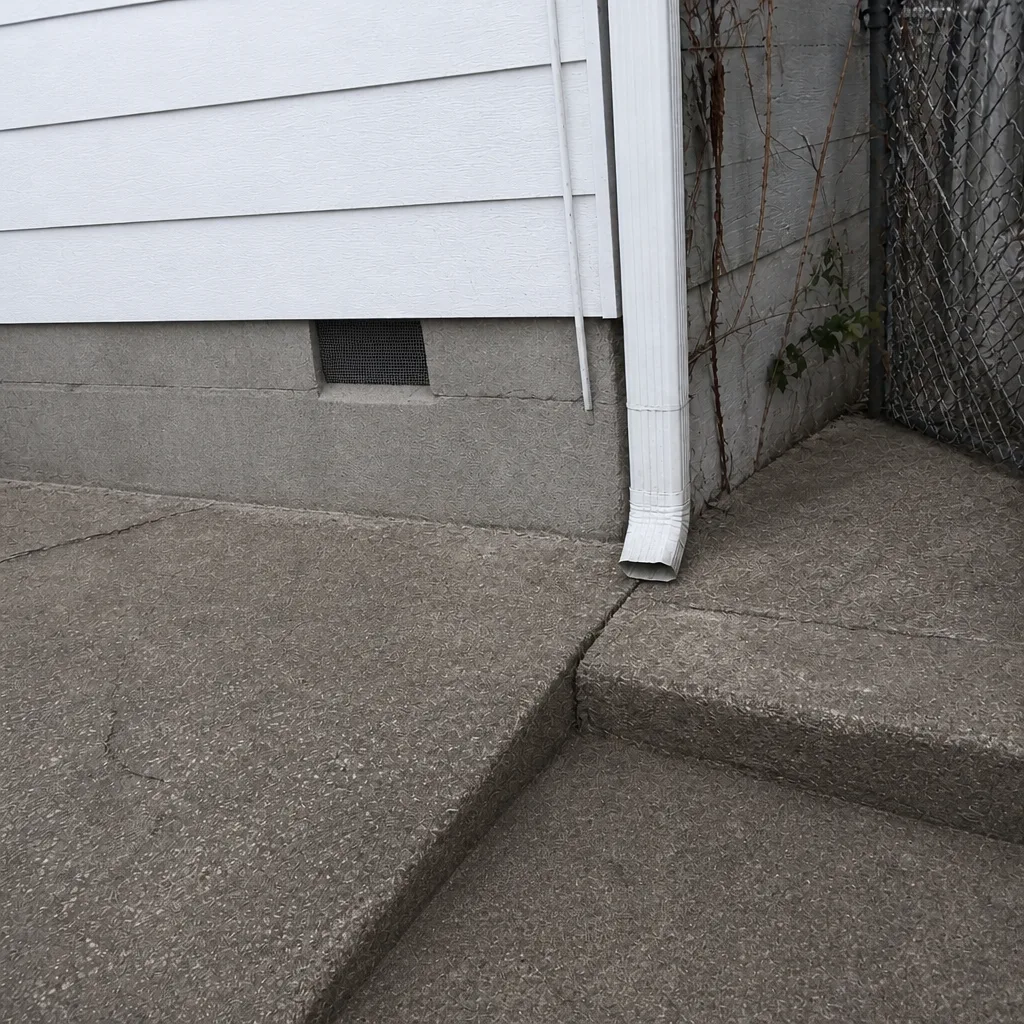 After
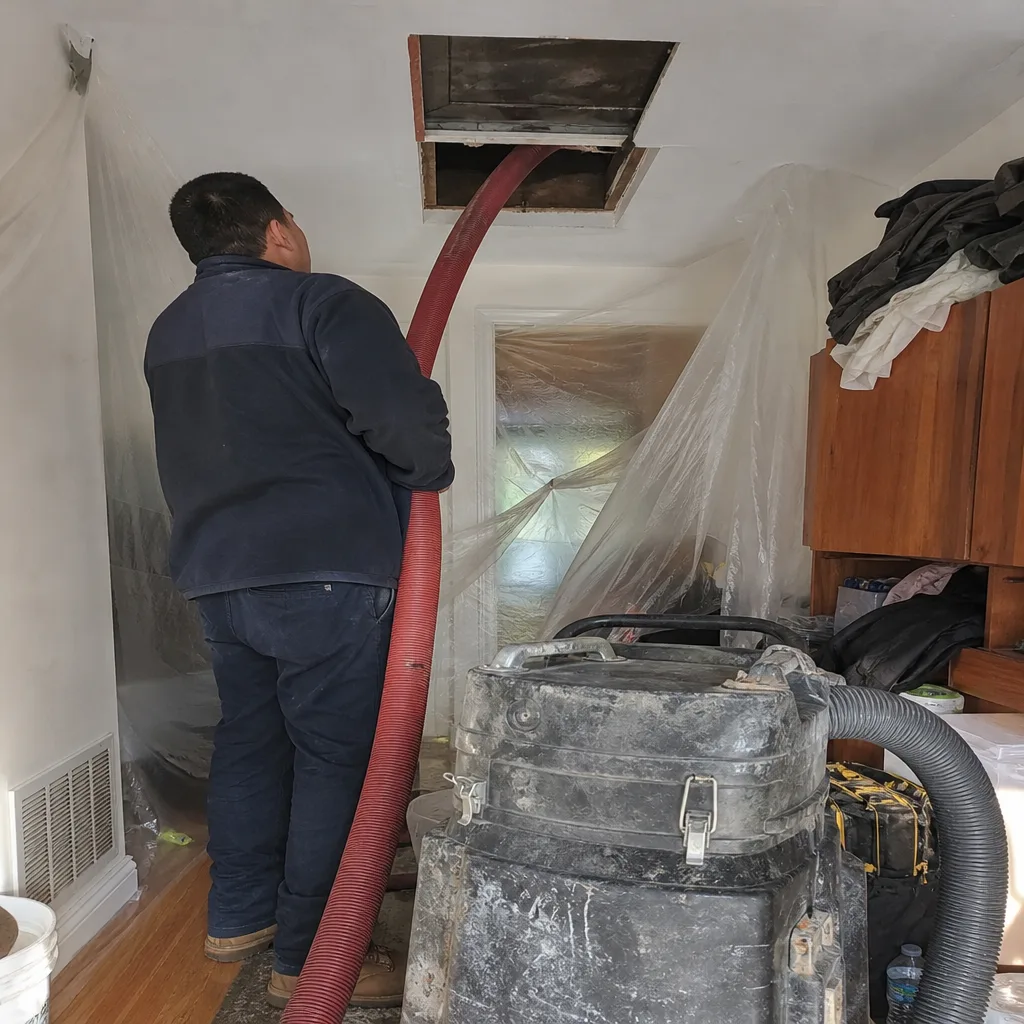 Before
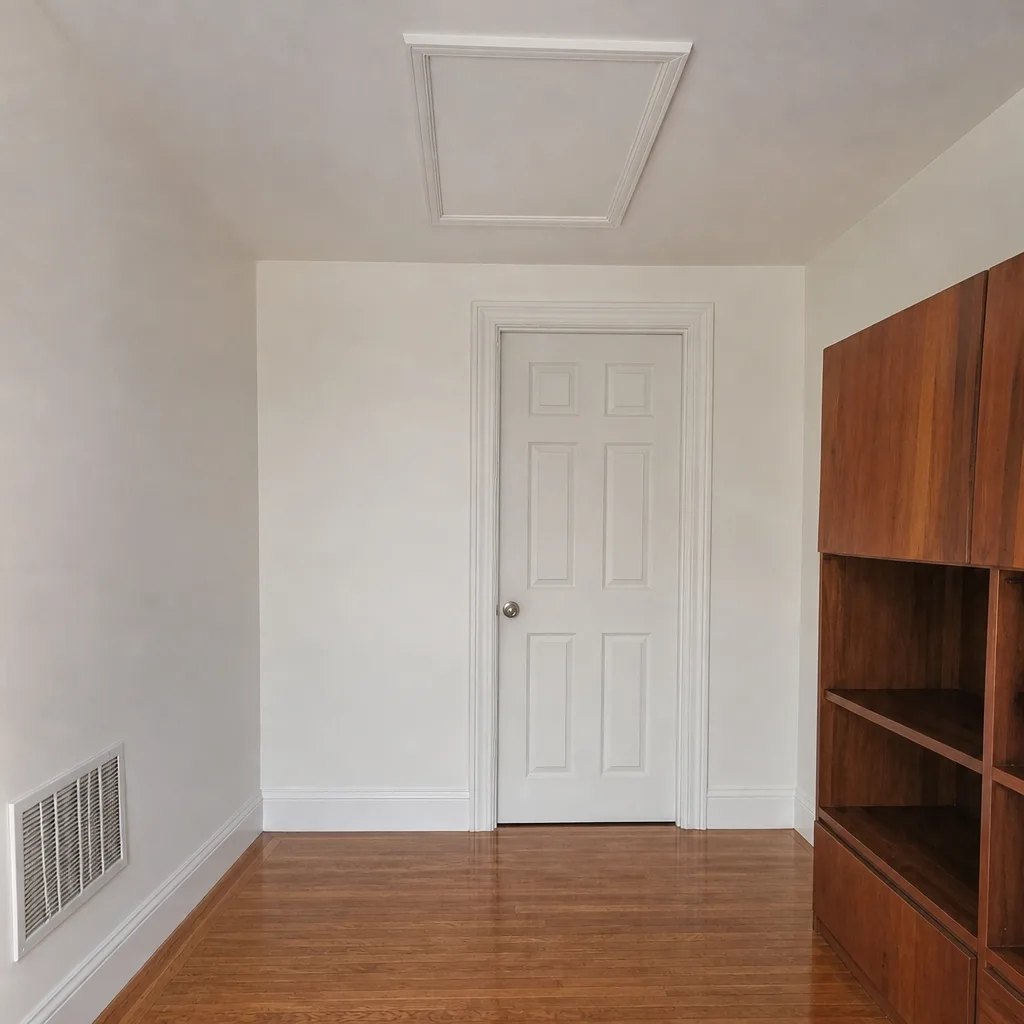 After
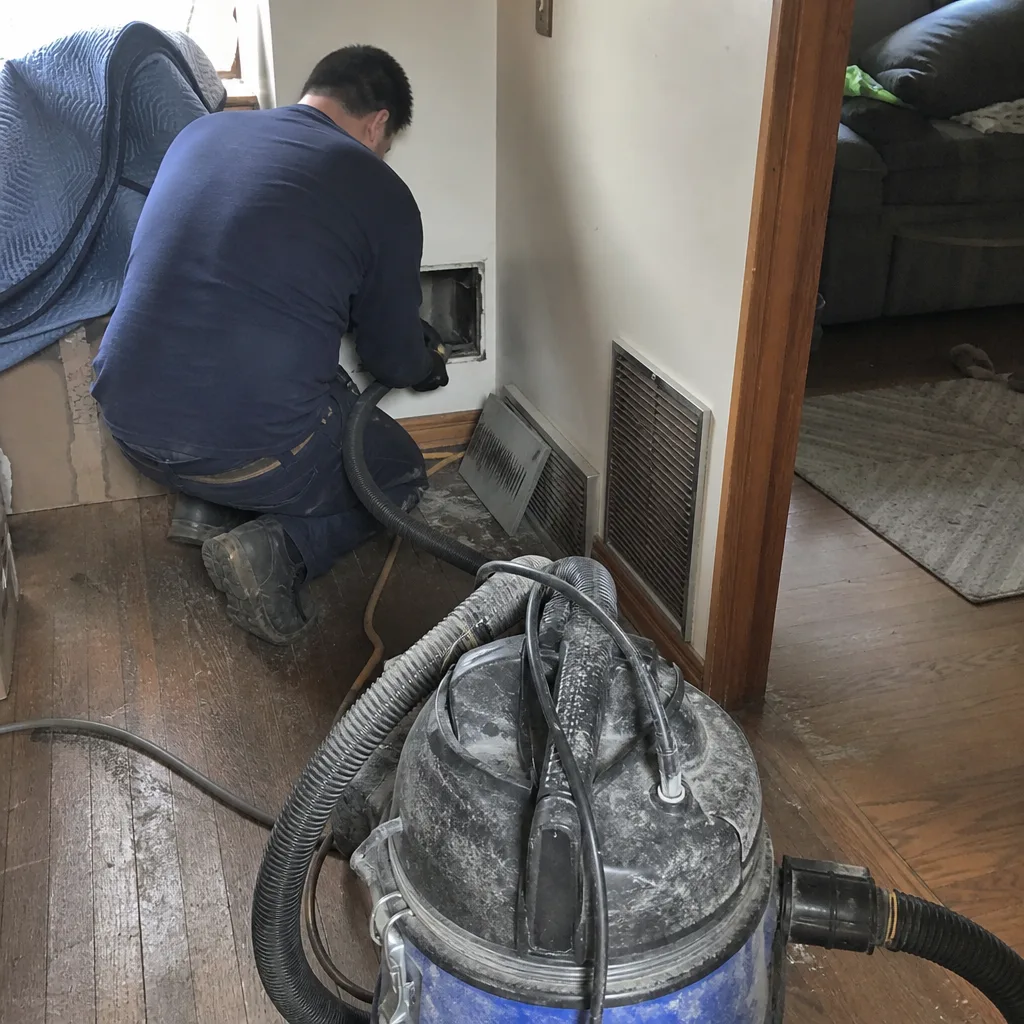 Before
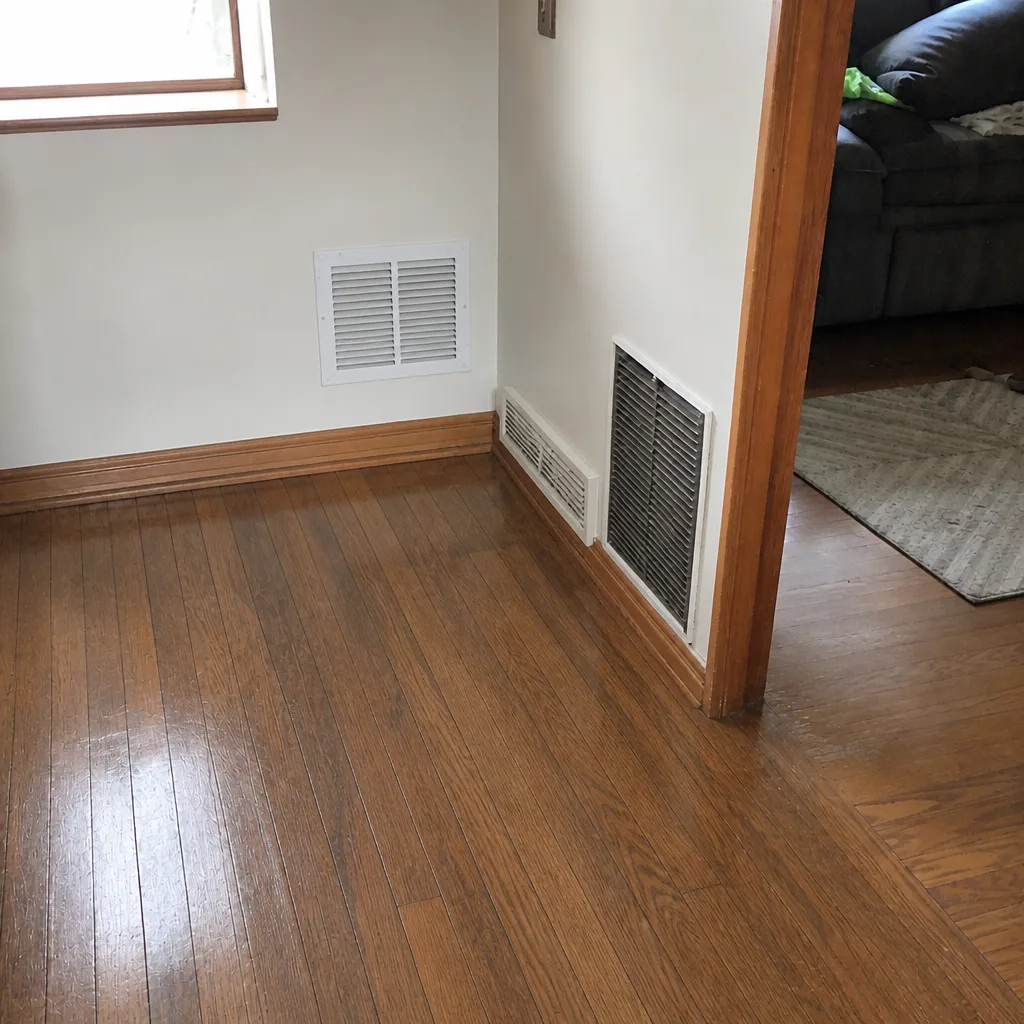 After
Frequently Asked Questions
Most Flushing homes should have air ducts cleaned every 3 to 5 years, with annual visual inspections and monthly filter checks in between. Homes with pets, smokers, recent renovations, allergy sufferers, or uninsulated flex duct in humid spaces should be cleaned more frequently – often every 2 to 3 years. The specific schedule depends on your building’s condition more than on any fixed rule. Call (833) 468-5745 for an exact quote – estimates are free.
MERV 8 to MERV 11 is the right range for most Flushing homes, with MERV 13 worth considering for allergy sufferers or homes near major roadways if the system can handle the airflow restriction. The key is to check system compatibility before going higher, and to change the filter every 1 to 3 months depending on season and household conditions. Call (833) 468-5745 for a free estimate on matching filtration to your system.
A musty smell at system startup usually indicates moisture in the ductwork and possible mold growth, particularly in humid months. In Flushing’s summer climate, condensation on under-insulated flex duct is a common cause. A musty smell is a reason to book a professional inspection, not a wait-and-see situation. Call (833) 468-5745 for an exact quote – estimates are free.
The honest answer is that a professional whole-system cleaning is priced per system, not per vent, and you should ask for a written flat price before any work begins. Be wary of advertised teaser prices from national chains – they often grow significantly once the technician is onsite. The written estimate is what sets the final price. Call (833) 468-5745 for a free estimate on your specific system.
No. Consumer vacuums lack the containment and filtration to capture the fine particulate that gets dislodged during cleaning, so they can push dust back into the living space rather than remove it. Professional service uses containment and Abatement Technologies air scrubbers precisely to prevent that. Leave the cleaning to trained technicians and stick to filter changes and grille checks at home. Call (833) 468-5745 for an exact quote – estimates are free.
Low-price quotes usually reflect an incomplete cleaning, a bait-and-switch pricing model, or consumer-grade equipment that can’t do the job properly. A legitimate quote specifies the equipment (Rotobrush, Nikro, containment scrubbers), the scope of work, and one flat price per system. Ask us what equipment we’re bringing – we’ll tell you exactly. Call (833) 468-5745 for an exact quote – estimates are free.
The Bottom Line
A working duct maintenance routine for a Flushing home rests on three habits: monthly visual checks of return grilles, supply registers, and startup odor; a filter change schedule built for urban particulate rather than a national default; and a photo timeline that turns vague impressions into a documented history. Add an annual professional inspection and a professional cleaning every 3 to 5 years, sooner if pets, allergies, renovation, or a smoker are in the picture. Don’t forget the HVAC coil and the dryer vent – they’re part of the same air system and deserve the same attention. The calendar shifts with the seasons here, but the habits are consistent: observe, record, and act on what you find.
If the checks point to a professional call, reach out at (833) 468-5745. We answer 24/7. Fast dispatch from 7am to 7pm, Sunday through Friday. Your estimate is free, the price is set per job by the written estimate, and we’ll show you the equipment before any work begins.
Written by the team at Air Duct Cleaning Flushing.